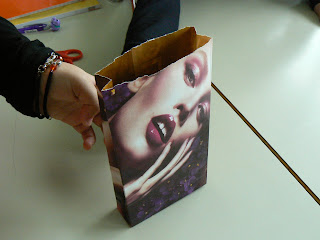
This tutorial was produced with the help of E class students, to demonstrate a way of reusing paper in a new project. Paperbags are very fun to make and they are also practical, as they can be adorned, filled with goodies like candies, pencils or stickers and presented as inexpensive, handmade gifts in kids parties.
Here are the instructions on how to make one:
1. To make one paperbag, you need: One torn page from a magazine, preferably one you find appealing (the students chose this page for the tutorial), tape and scissors. You can also use brochure or leaflet pages.
2. Turn your page with its 'good side' facing down, onto the desk, and the torn side at the top.
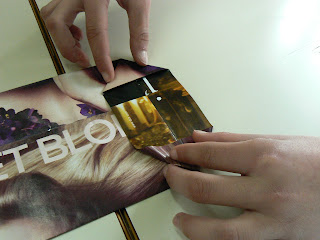
3. Fold your page like this and then tape the edges together.
4. Fold the bottom part.
5. Open the folded sides apart and push them down like this.
6. Fold each side again, so that they face each other and tape them down.
7. Fold the sides like this, then turn your paperbag over and do the same towards the opposite side.
8. Open your paperbag gently and start forming the inside creases.
It's ready!


Super Dimitra and class!
ΑπάντησηΔιαγραφή